Backcountry Techniques for Streams:
Pretty much, you'll use the same basic techniques in the backcountry as
you would use on any local fishing spot. However, there are some subtle differences I've found that distinguish backcountry
situations from roadside fishing.
Keep Moving
On a popular, crowded creek, you are limited in where you can fish and how
you can fish by other fishermen. So, typically, you will take up a position at a "hole" and fish it for quite a while, because
moving often involves "leap-frogging" around other fishermen to find another spot.
Fishing an uncrowded backcountry stream or river doesn't have these constraints.
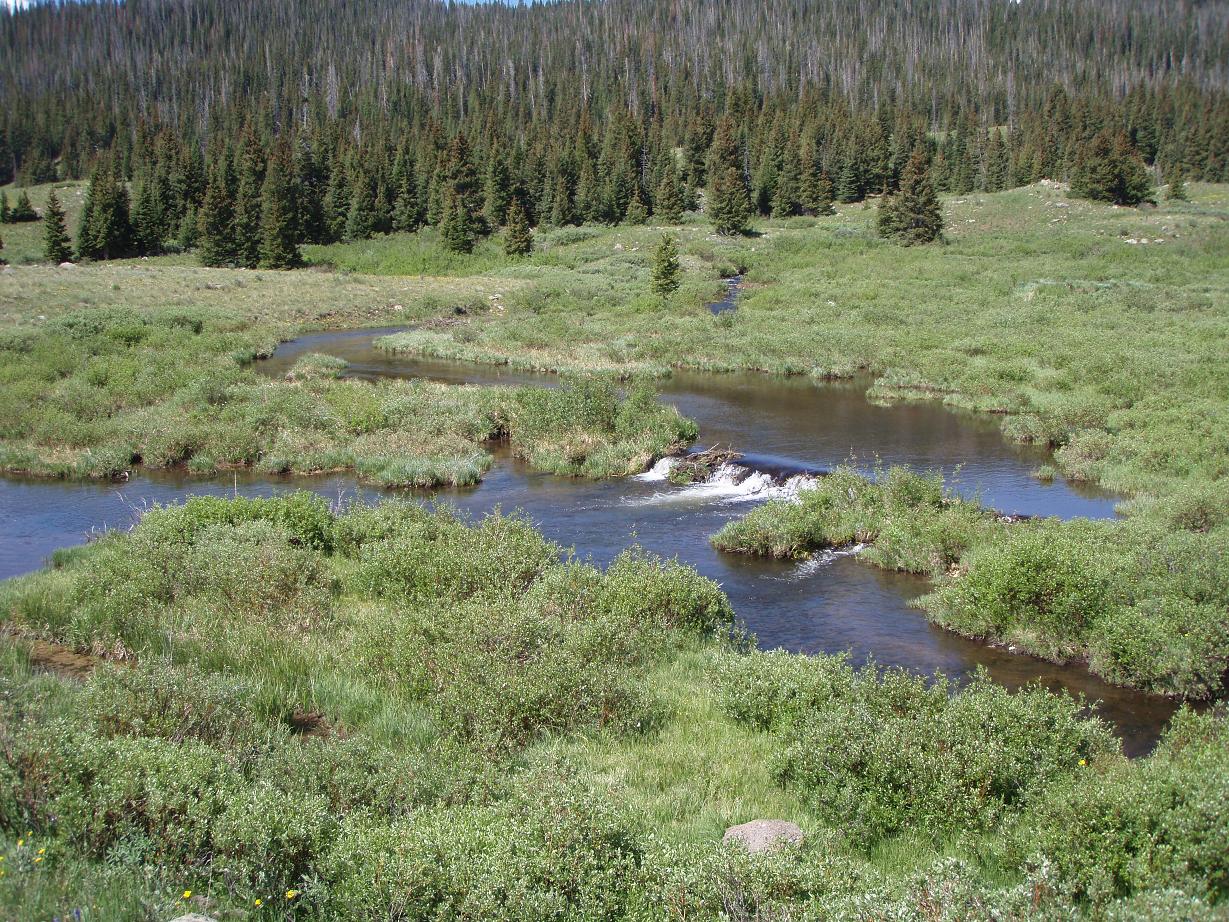
First off, spend some time scouting to find prime waters. If you're on a creek, hike downstream for a while, keeping an eye
out for beaver dams, pools, feeding fish, and other signs of good fishing. Work your way downstream quite a ways, taking notes
of the water along the way, watching for fish. You have the luxury of solitude, and you can pretty much be assured that the
best spots aren't going to be already taken. Then, once you've decided where to begin fishing, don't waste time fishing unproductive
water.
One thing I've found about smaller backcountry streams is that fish often
tend to be concentrated along certain stretches, and sparse along others. Obstacles such as rapids, falls, beaver dams, shallows,
etc., tend to segregate the fish into discrete segments of the stream. and certain segments may hold very few fish, while
other segments are teeming with fish. The trick is to move quickly. If you aren't getting rises, move on. I "fast wade" along
streams and creeks, walking and casting simultaneously, pausing when the fishing gets productive, and moving rapidly over
less productive water. I typically can cover several miles of stream in a few hours of fishing, and I spend very little time
casting to empty water.
| High Country Stream Fishing |
|
Make the First Cast Count
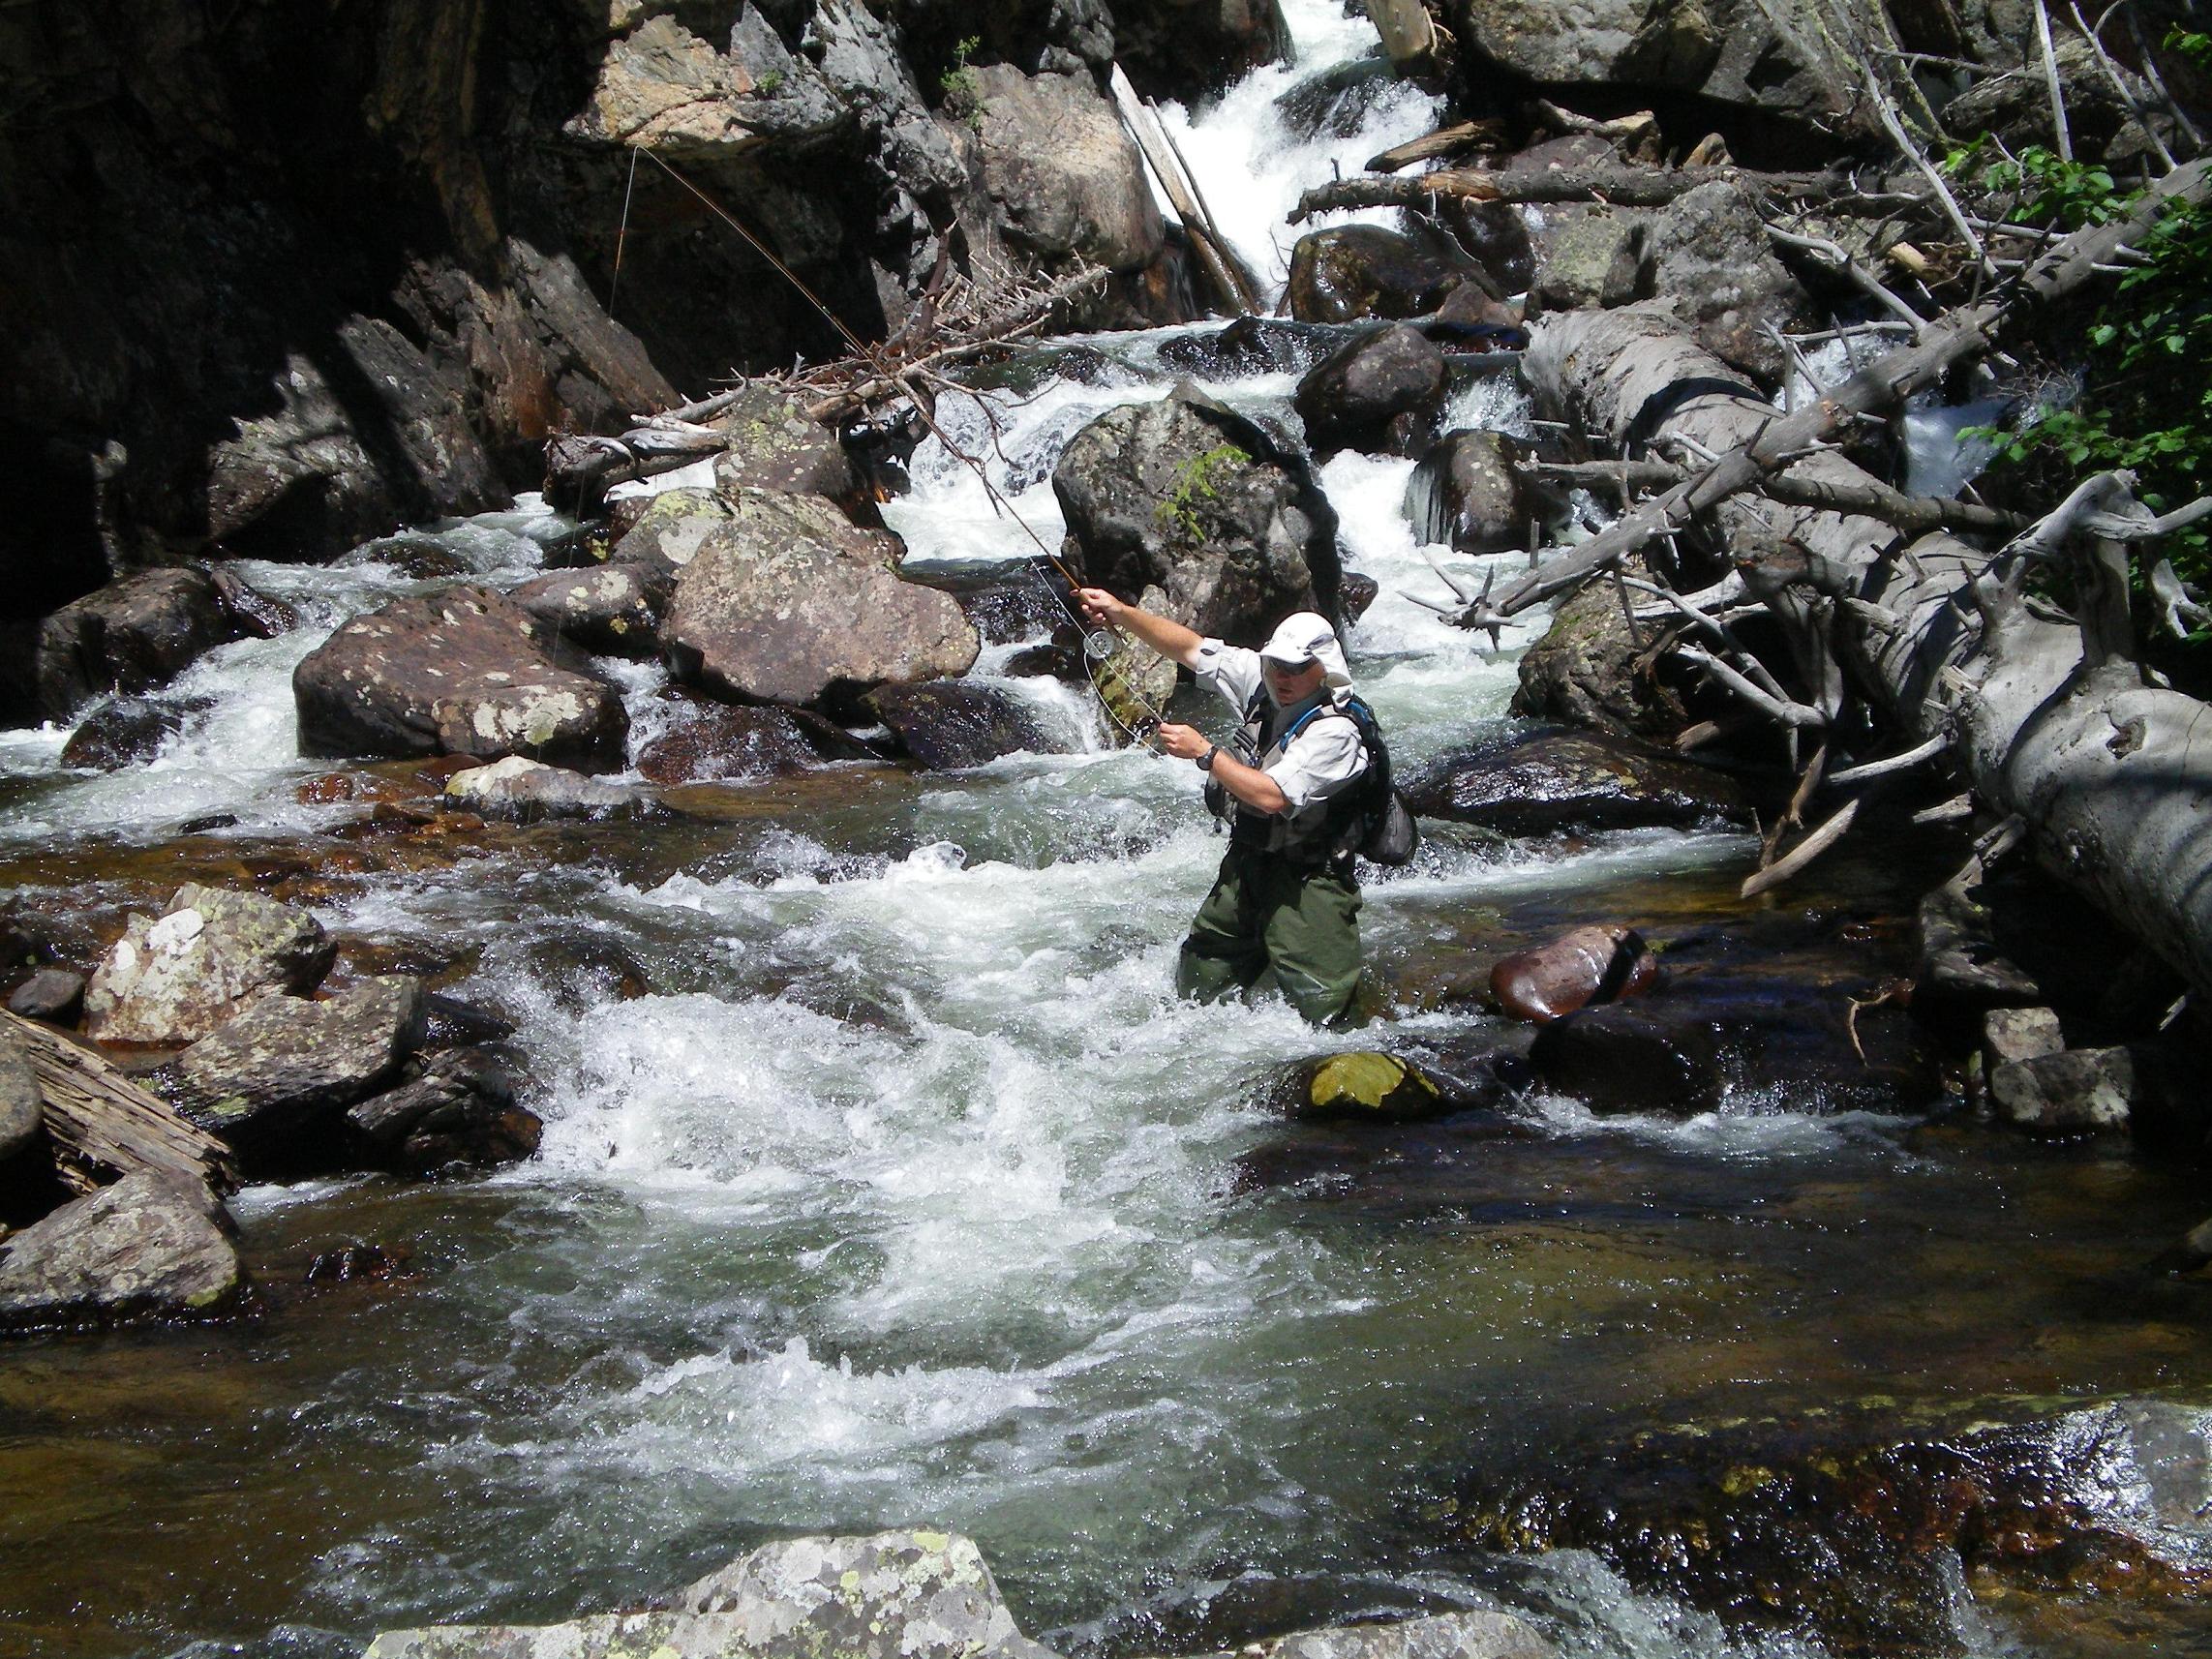
When you see a spot that is likely to hold a fish, don't rush it. The first cast in
that spot is the one that is most likely to catch a fish. If you screw up the first cast (or the drift,) your chances
of hooking into a fish in that particular spot go down dramatically. As you are wading up a creek, look for water where
a fast moving current flows next to a slower (often deeper) section. When fishing a creek, these creases on the margin
of fast and slow are one of the most productive types of water. However, the juxtaposition of fast and slow currents
make casting and maintaining a controlled drift challenging.
The best place to put your fly is in the slower water, right on the edge of the faster current.
You need to make sure that you can keep your rod tip high, to keep your line drag minimized. This is difficult or sometimes
impossible unless you are close enough and positioned in the right spot. So, when you identify a likely holding position
for a fish, don't just cast to it immediately. You need to plan ahead. Figure out where you want to be, and what
the best approach is that will get you there without spooking the fish. Then wade carefully to that spot, keeping as
low as possible Be patient. As I have already said, your best chance of hooking a fish is with your first cast.
Get in position to make that first cast a good one.
After many years of fishing with various people, from experts to novices, I am convinced that
the single most important reason that experts consistently catch more fish than novices is that experts have learned to make
the first cast count. If you want to do one single thing that will improve your fishing the most, be patient, and take
the time to move into position to make your cast accurate and your drift controlled.
| Fishing "Potholes" |
|
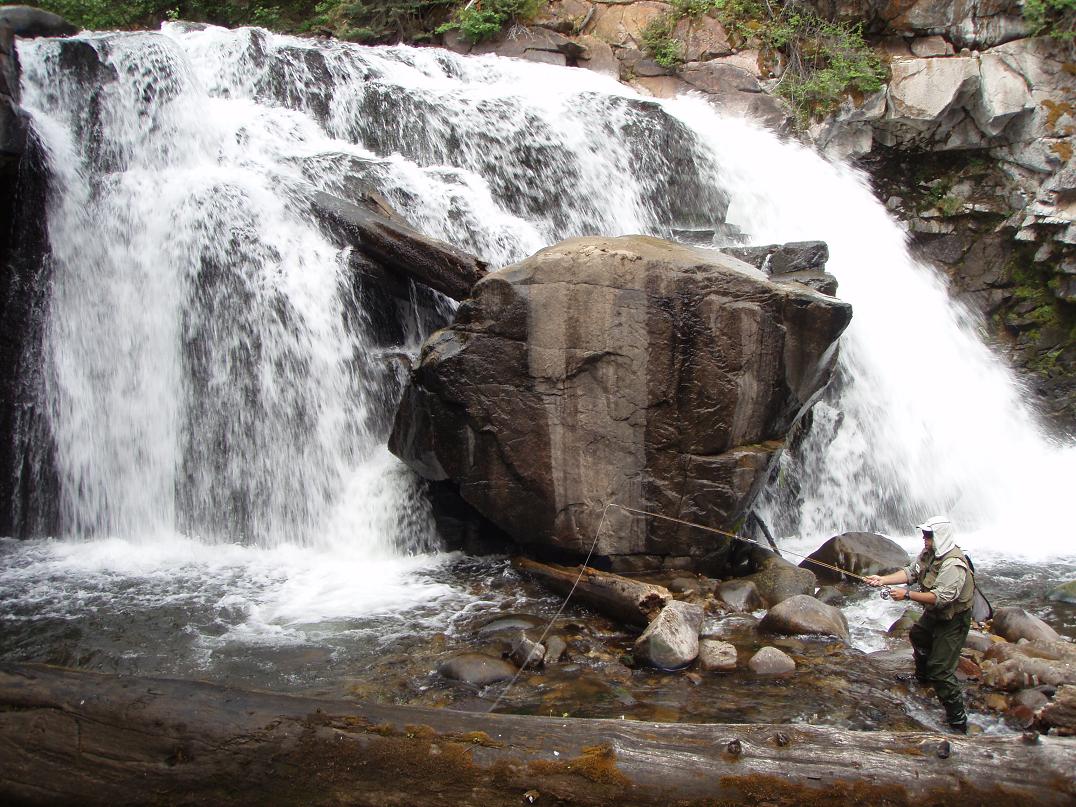
Fish the Shallows and the "Potholes."
A lot of times, I am surprised at the places that fish live and thrive. Also, it seems
to me that when I'm fishing the backcountry, I tend to find fish in more "challenging" environments than when close to civilization.
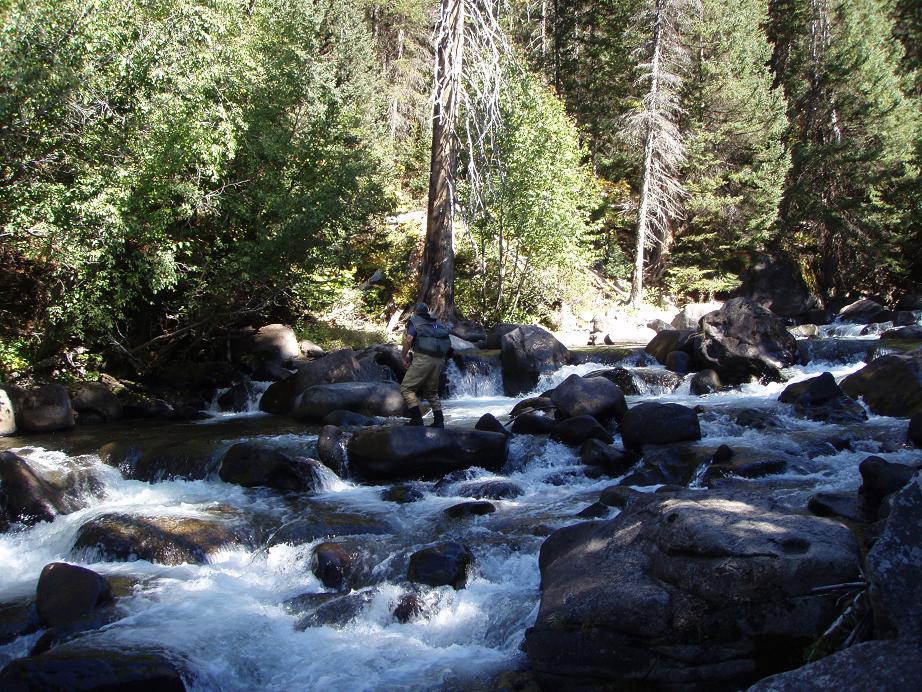
Some of the most productive backcountry fishing I do is in "potholes;" small pools scattered among steeper, fast flowing rapids.
The wading here can be tricky, but the fishing can be surprisingly rewarding.
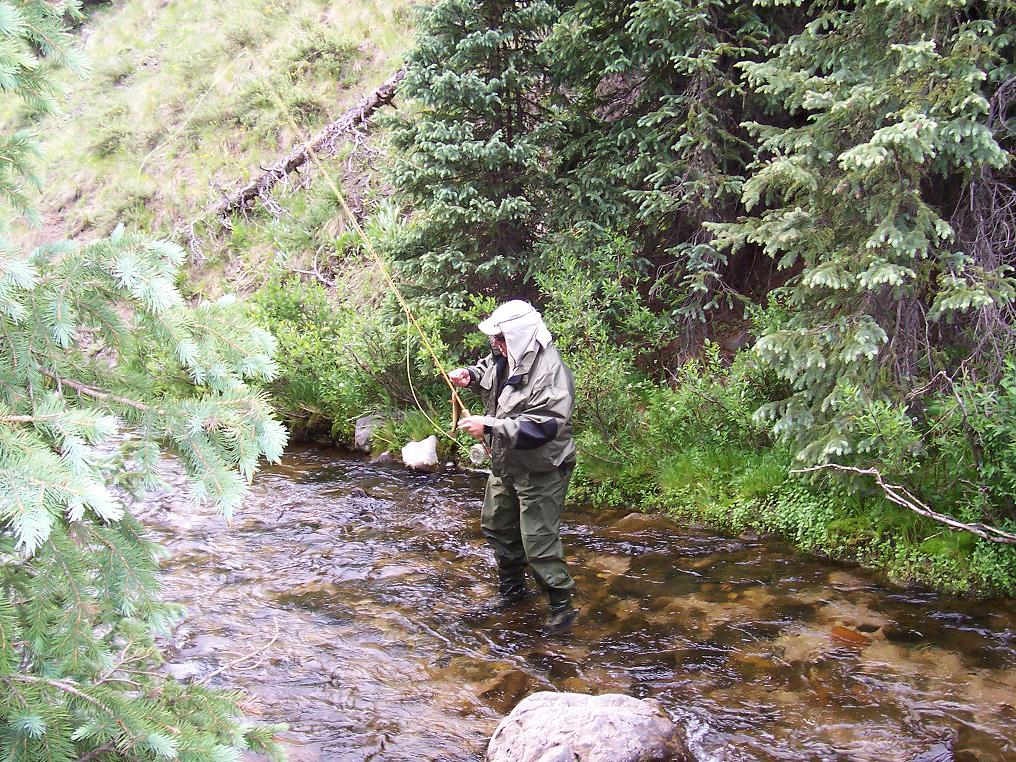
Also, I've had a lot of success in very shallow water. The fish can be easily spooked,
so you often need to fish a little further away than normal, but I've found that if you see fish in the shallows, they're
probably hungry and agressive.
| Shallow water can hold a lot of fish |
|
Fly Patterns for Backcountry Streams
This may sound heretical, but I seldom even try to "match the hatch" when I'm fishing backcountry
streams and creeks. I have found that fish in backcountry creeks tend to be not all that selective, and will agressively
go after just about anything that looks bug-like. So, rather than worry about correctly imitating the local bugs, I
choose my flies based upon how easy they are for me to fish.
I fish dry flies or a fly-dropper combo when I'm on backcountry streams. A single dry fly
is fine for shallower conditions, because if the water is shallow, the fish will rise to it even if they are hugging the bottom.
For deeper water, I will drop a single nymph off the dry fly, to entice the bottom lurkers.
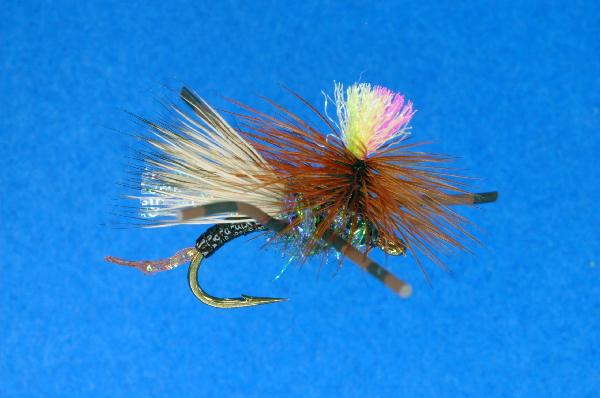
My favorite all purpose dry fly has a long name: Wilcox's J.C. Special Pheasant Tail.
It's an interesting pattern that mixes elements of a number of classic patterns into a buggy melange that doesn't look exactly
like any bug in particular, but looks a little bit like many bugs.
I call it the "Ugly Bug." I've caught more fish on a size 14 Ugly Bug than all other fly
patterns combined. As a bonus, the neon pink and yellow high visibility post makes it easy to keep track of in swirling,
fast water.
| Wilcox's J.C. Special Pheasant Tail (the Ugly Bug) |
|
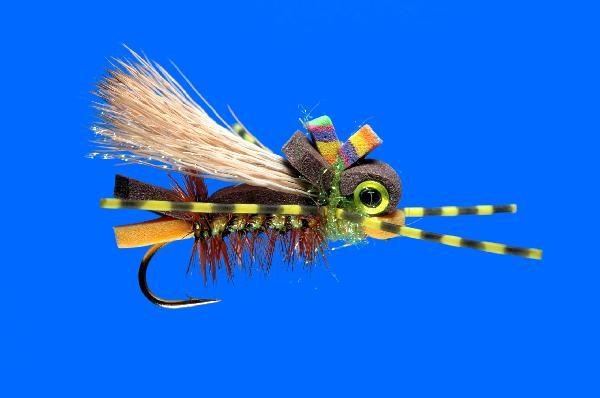
For those times when the water is a little deeper, and I'm fishing with
a dropper, I will sometimes find the need for added buoyancy on the dry fly to keep it afloat in turbulent waters. For
these situations, I like a big hopper pattern made with a lot of foam. My favorite pattern for these purposes is Wilcox's
Golden VW Hopper in a size 12 or 14. Again, I can't resist re-naming my favorite flies, and I've dubbed this one the
"School Bus Hopper" because it's big and yellow like a school bus. It does a great job of staying on top of the water
and resisting getting water logged. It also does excellent duty not just as a strike indicator, but as an attractor
dry fly in its own right. I typically get about one in four of my strikes on the hopper compared with the dropper
nymph when fishing with this rig. However, I've noticed that a majority of the bigger fish go for the hopper.
I guess that the bigger fish are more fearless and agressive and just can't resist that big yellow beast of a fly.
| Wilcox's VW Hopper (the School Bus Hopper) |
|
When fishing the hopper dropper rig, I will typically just tie on a small,
shiny nymph. I've not found any particular type that does better than others. I generally don't bother
with adding weight, so I will pick a heavier bead-head pattern for deeper water, and a lighter, non-bead head pattern for
shallower conditions.
Bottom line is that just about any visible, "buggy" pattern will catch a
lot of fish on backcountry streams. So, don't waste too much time searching for the perfect pattern. Just tie
something on and get to it.
The Ugy Bug and the School Bus Hopper are both available from Wiley's Flies.
The web site address for Wiley's Flies is here:
| High mountain lake in the Flat-tops Wilderness |

|
| Lake fishing can be more difficult than fishing streams, but the fish tend to be larger. |
Tactics for Backcountry Lakes
For whatever reason, fishing backcountry lakes, particularly high mountain lakes, usually
is a bit more challenging to me than fishing backcountry streams and creeks. The fish tend to be a bit more picky
about what they eat, and also tend to be a bit more cautious about coming to the surface, so nymphing is often the most productive
fishing method.
The pay-off however, is bigger fish. Lake fish are almost always a lot larger than
their stream-living counterparts, so if you're after size rather than quantity, lake fishing will deserve some serious consideration.
When fishing lakes, picking the right location is key. It's almost always worthwhile to hike
over to the inlet or the outlet of a lake, as fish tend to congregate in these areas. In many lakes, there will
be one part of the lake where the prevailing winds have carried logs, branches and other debris and desposited them along
the shore line. These areas are usually productive fishing grounds, as are submerged boulder fields, underwater
weed beds, and other areas that provide structure and cover.
I've found that dry fly fishing on lakes tends to be rather inefective unless I see fish actively
feeding on the surface. If there are fish rising and feeding on surface insects, then I will go with the traditional tactic
of matching my dry fly selection to whatever the fish are eating. Otherwise, if I don't see action on the
surface, I will usually start off nymphing.
|
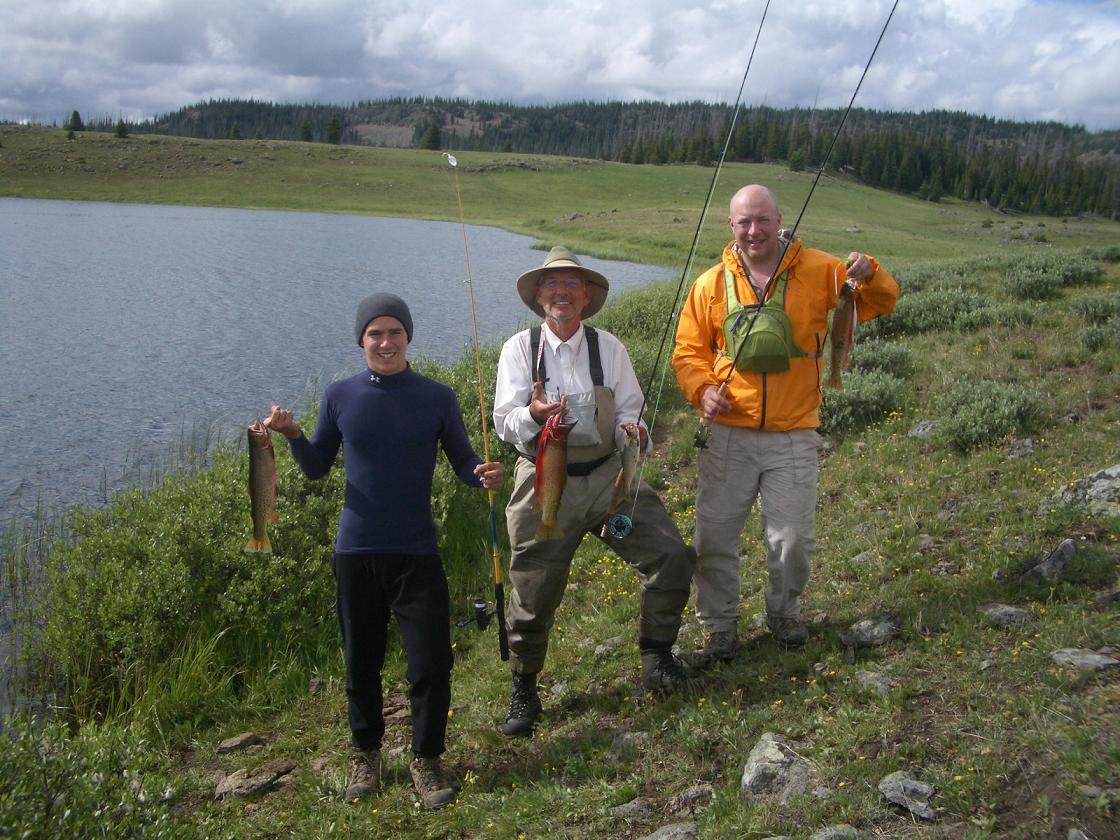
| Looking forward to fresh fish for dinner, after many days of freeze dried food. |
I don't really have a particular favorite nymph pattern. I've caught
fish on everything from big wooly buggers to tiny buckskins. My initial pattern will often be a weighted scud, and if
that doesn't work, then I will begin experimenting with various nymphs.
To get the nymph down near the lake bottom, and keep it deep when stripping
it in, I typically use a single, small split shot, and then augment that split shot with Mojo Mud tungsten putty, adding or
removing putty to the split shot as needed. The Mojo Mud seems to hold together and stay affixed to the split shot better
than other brands of putty I've used. You can get it here:
When stripping in nymphs, I've found that I've had the most success
with alternating between stripping in the nymph, followed by a long pause (which lets the nymph settle) then more stripping. I
discovered this sequence by accident. I'd often be out on a lake, stripping in a nymph, and I would pause to swat a
mosquito, take a sip of water, re-adjust my hat, or some other task, Then, I would resume stripping, and "bang" I'd
have a fish on. This happened so many times by accident, that I finally recognized a pattern and began doing it on purpose.
I will also alternate between rapid and slow stripping.
For a strike indicator, I'm partial to the "Fish Pimp" from Angling Evolutions.
They are easy to put on and remove, and they stay put on your line. They also don't cost much. I've used yarn,
floating putty, foam tabs, and other indicators, but I like the Fish Pimp's simplicity and reliability. Sometimes, if
I've seen some surface activity, I will use a big (size 8) School Bus hopper instead of a normal strike indicator.
|